UKULELE TECHNIQUE
Lesson 2
Teaching Artist: Juan Manuel Trujillo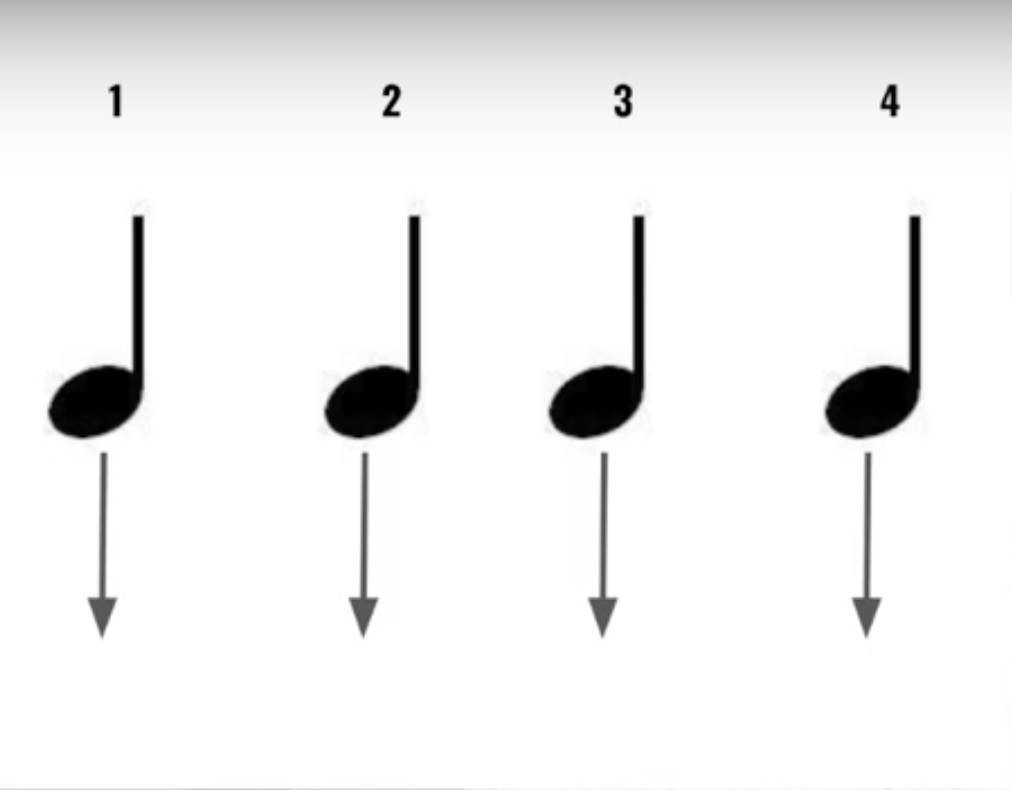
SUMMARY
This is the second lesson from the Strumming Through The Americas ukulele course. Students will be introduced to the ukulele’s most important function: displaying harmony using chords. They will learn to play a C chord and use rhythm to convey it in a musical context.
OBJECTIVE
Students will be able to define a chord.
Students will be able to distinguish between chords and single-note melodies.
Students will be able to interpret chord diagrams.
Students will be able to apply correct left-hand technique for the C chord.
Students will be able to use strumming to play the C major chord with a steady beat.
MATERIALS
Ukulele
Adaptive tools or chord changers for students with disabilities
EXPLORE
Display the Google Slides: Ukulele Technique. Show the ukulele to the students, reminding them of the strings on the face of the instrument. Ask: How many strings are on the ukulele? How many notes or sounds can I play on the ukulele at one time? Explain that when we play more than two notes at the same time, we are playing a chord.
Engage students in a listening activity. Ask students to close their eyes, then determine the difference between a chord and a single note. Oscillate between strumming the C chord (and/or other chords) and plucking one individual string.
LEARN
Play the Chord Diagrams/C Chord video. Students will learn to interpret a chord diagram and apply the correct left-hand finger placement to play a C chord. If students need additional time to practice the chord diagram, rewind and pause the video at 0:50 (initial chord diagram structure) and 1:01 (C chord diagram).
Model the correct finger (3rd finger, i.e. ring), and its placement on the 1st string (A) in the 3rd fret. Using the Left-Hand Placement Diagram, show students that the left thumb should be against the back of the ukulele’s neck to support the pressure of the finger against the string. This also promotes healthy technique, ensuring the wrist is not bent.
Play the Strumming Patterns video. This will introduce students to their first strumming pattern, which uses downstrums following a steady beat. As students practice this rhythm with the C chord, encourage them to strum with a steady, consistent pulse or beat. Pause the video at 1:02 to provide time for students to visualize the downstrum symbol and how it corresponds to the beat.
PERFORM+SHARE
Invite students to join a performance of their chord and strumming rhythm, and record it on video using the instructions below:
Position students in a circular seating arrangement.
Ask one student at a time to strum the C chord one time through the rhythm (4 strums each).
Instruct students to try to listen closely to keep the beat steady as the strumming moves around the circle.
Share your musical creations at S’Cool Sounds Padlet.