SHORTER’S STRUT
Lesson 4
Creator & Artistic Director: Nina Stern
Teaching Artist: Ruaridh Pattison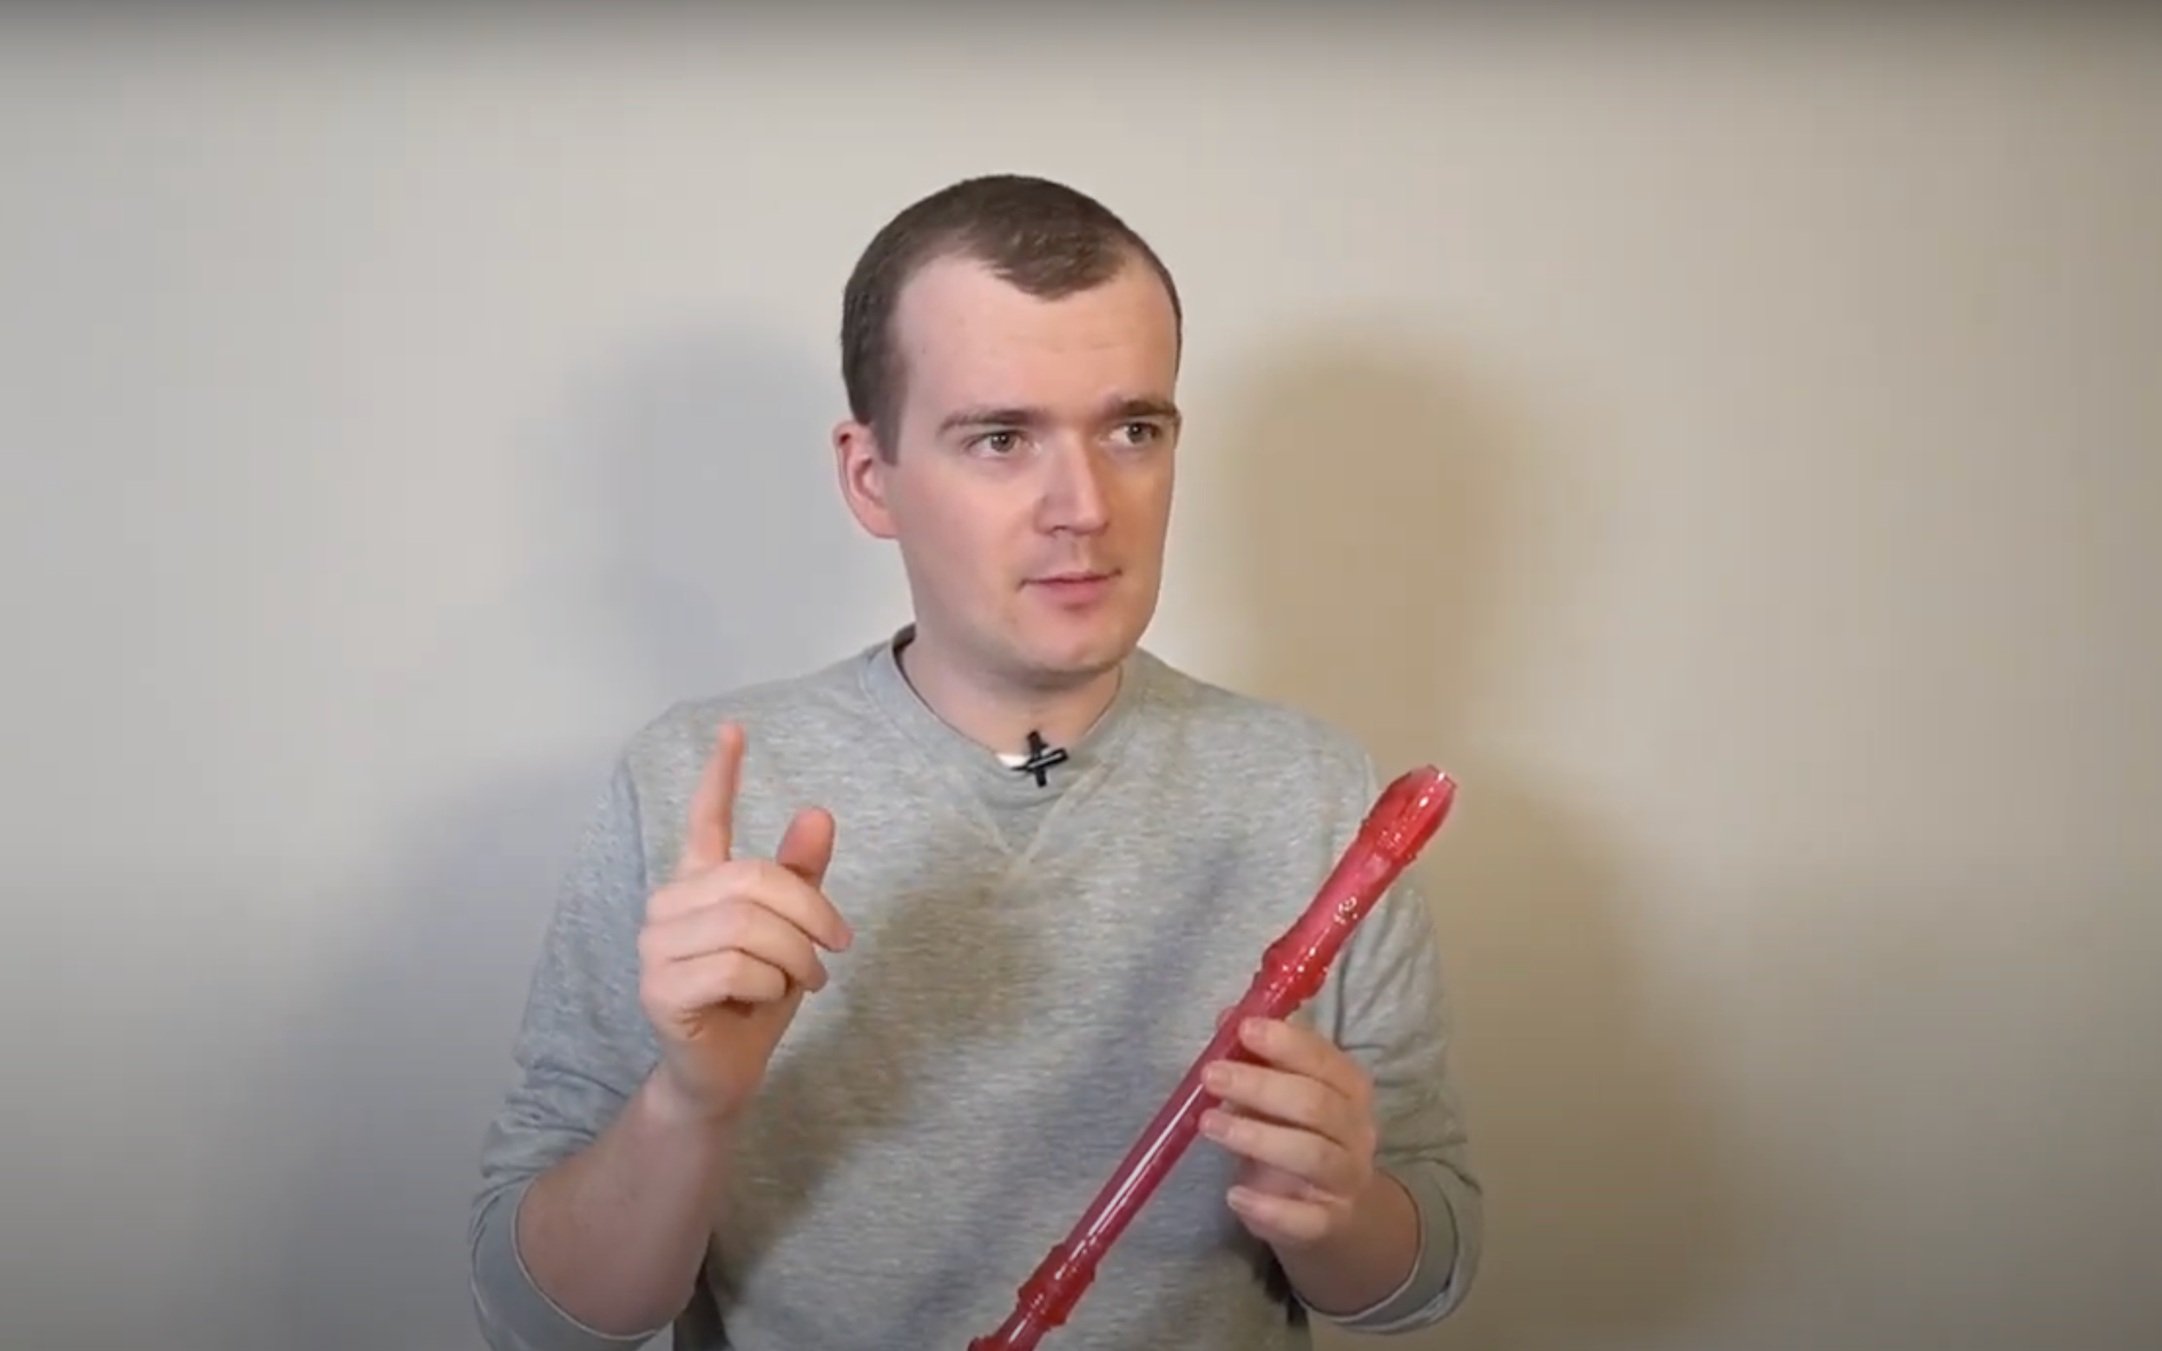
SUMMARY
This is the fourth lesson from the Recorders Without Borders unit, where students will build upon their recorder playing skills. Students will discover a type of music called jazz by listening to songs by Wayne Shorter and Miles Davis. Students will then perform “Shorter’s Strut” by Ruaridh Pattison as a class, and share it with peers, friends, and family.
Summarize important information about jazz music.
Set up, hold, and make a sound on the recorder.
Play the notes “B,” “A,” “G,” and “Low E” on the recorder.
Perform “Shorter’s Strut.”
OBJECTIVE
(Backing Track) Songs to Play: B Happy Blues
(Backing Track) Songs to Play: Rockin’ About Town
(Backing Track) Songs to Play: The Funky Bag!
(Backing Track) Songs to Play: Shorter's Strut
One recorder per student and teacher
Assistive technology or devices for holding the recorder
Optional: masking tape
MATERIALS
EXPLORE
Display the Google Slides: Shorter's Strut. Introduce students to a type of music called jazz, and explain that it comes from the United States. Explore The History of Jazz by asking students to read one or two lines from the webpage, pausing occasionally to ask questions: Which country does jazz music come from? What countries or cultures have influenced jazz music? Which instruments are used when playing jazz music? Are these instruments similar to what we learned about in funk music?
Optional: Explore the S’Cool Sounds curriculum, Jazz and the World of Black American Music.
Introduce students to the sound of jazz by playing these recordings:
LEARN
Instruct students to set up their recorders. If a student is using an adaptive tool or instrument, please follow the instructions accompanied with the product.
Remind students of the three recorder positions: Resting Position, Ready Position, and Playing Position.
Remind students that when playing the recorder, they should blow gently into the instrument! Remind students of last lesson’s exercise, where they imagined creating a soft breeze through their recorders. Using the palms of their hands, have students blow a gentle breeze, or cool down the soup in the palm of their hands. Then, with recorders in Playing Position, have students play a “B” with a beautiful, soft sound.
Have students sit in a circle, facing each other, and then demonstrate the fingers for a “B” in resting position. Then, start a game of Pass the Note: play a “B” and pass it to a student in the circle. That student then passes it to their neighbor and continues passing the sound throughout the class. Encourage the kids to communicate without talking and to only have one student playing the “B” at a time but to keep the “B” continuous.
Repeat with “A,” starting at a different point in the circle.
Repeat with “G,” starting at a different point in the circle.
Use the above game to check that each student is holding their recorder with proper technique, with their left hand on top, and right thumb supporting the bottom of the recorder in the correct position. Instruct students that today they will learn a new note that uses fingers from both hands!
Ask students to demonstrate the fingers for the notes “B,” “A,” and “G.” If necessary, replay the videos How to Play the Note “B,” How to Play the Note “A,” and How to Play the Note “G,” pausing when appropriate to make sure each student has their correct fingers sealing the topmost holes of the recorder’s body, and their right thumb supporting the bottom half in the correct position. Introduce students to the “Cheerio” test: press the correct fingers into the holes of the recorder, then inspect the fingertips to see whether “Cheerios” have developed on the pads of the fingers.
Optional: Review the previously learned songs, by viewing Learn the B Happy Blues!, Learn Rockin’ About Town! and Learn The Funky Bag! They can then perform with the backing tracks using the following links:
(Backing Track) Songs to Play: B Happy Blues
(Backing Track) Songs to Play: Rockin' About Town
(Backing Track) Songs to Play: The Funky Bag
Tell the students they are now ready to learn the next note on the recorder: the note “Low E.” Play the video How to Play the Note “Low E,” pausing to make sure each student has their left thumb, index, middle, and ring fingers, sealing the topmost holes of the recorder’s body, and their right thumb supporting the bottom half in the correct position, with right index and middle fingers sealing holes 4 and 5 on the recorder.
Tell students they are now ready to learn their next song on the recorder: “Shorter’s Strut.” Play the video Learn Shorter’s Strut, pausing as necessary to ensure each student is building confidence playing the recorder, and their new song. Repeat any of the above steps as necessary to reinforce understanding and develop routine skills for future lessons.
PERFORM+SHARE
Once students have participated in the entirety of the Learn Shorter’s Strut video, and are comfortable with each of the above steps, tell them they are ready to perform their next song on the recorder. Prepare students to be in “playing position” with correct technique, then play the backing track video Songs to Play: Shorter's Strut.
Record a video or audio version of your students’ performance, then upload it to the S’Cool Sounds Padlet.